Cosmic Academy: Producer's Guide to Reverb Features
- Cosmic Academy

- Dec 23, 2021
- 2 min read

Reverb is one of the most important tools we have in our music! There’s nothing like a perfectly-dialed in, lush sounding reverb—it’s incredibly satisfying.
And this is why it’s so important to understand this tool inside and out! Knowledge is power. Instead of blindly turning knobs, let’s take just a few minutes to really learn what these major components do, and how they shape your reverb!
1. Dry / Wet

If your reverb plugin has a Dry/Wet knob, this is your “mix” knob. It will blend your “dry” (original, non-reverbed) signal, with “wet” reverberated signal.
Also, this is super important! When using reverb on a send/return routing or on a bus, make sure the mix is set to 100% wet! This is the only way the routing will work properly. On the other hand, when using as an insert (i.e., directly on the processing chain and not as a send), you can start at 0% and increase to taste, but be aware that once you cross 50%, the original signal will be quieter than the reverb.
2. Pre-Delay

Pre-delay dictates the wait time between the time that your original sound begins and the start of the reverberated signal.
Something to keep in mind: having your reverb start immediately (i.e., 0ms predelay) can sometimes wash out transients on your original signal. Increase the pre-delay time to create a bit of separation between the two—this will allow your transient sounds to keep their definition.
3. Decay
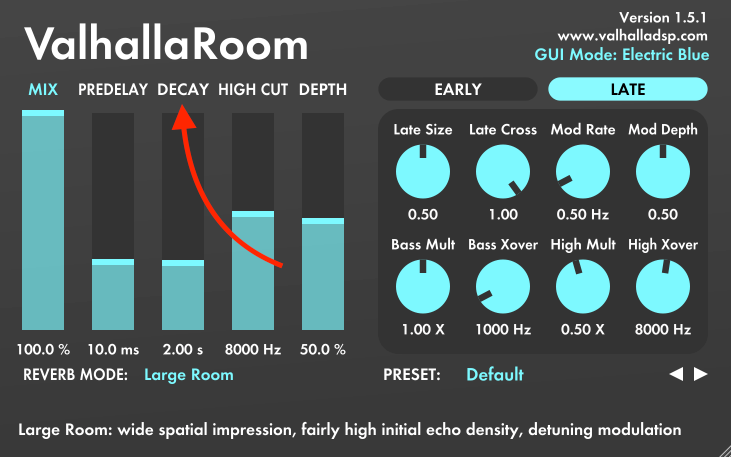
Decay means how long it takes the reverb to fade out / disappear all the way. Longer decay times do sound incredible and lush, but can quickly “muddy” up a mix because they overlap all the other transient hits and sounds in the mix, so be careful! In our Cosmic Academy bootcamp, we tell our students that it can often be a good idea to pull up a BPM calculator and set the decay time to a certain note length (quarter note, 16th note etc.), which can help the reverb sit nicely with the cadence of the track’s tempo and reduce any negative impact the reverb tail might have on the mix.
4. Diffusion
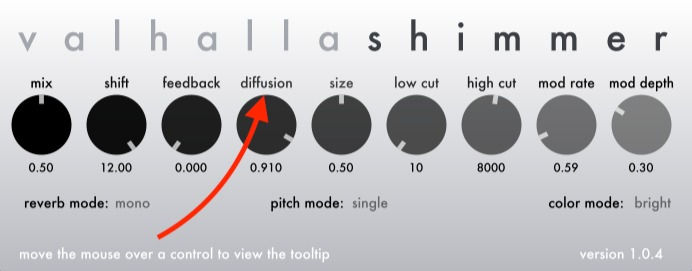
Diffusion is a bit more abstract, but very important to understand. This parameter controls the density of the reflections we hear. Increasing will push early reflections closer together, thickening the reverb sound. Reducing creates more audible echoes. I like to this of this as how “soft” and “blurry” the reverb sounds: higher diffusion is like a soft pastel painting with soft edges, whereas lower diffusion is like a clearer pencil sketch (hope that metaphor makes sense!).
BONUS: Built-in EQs
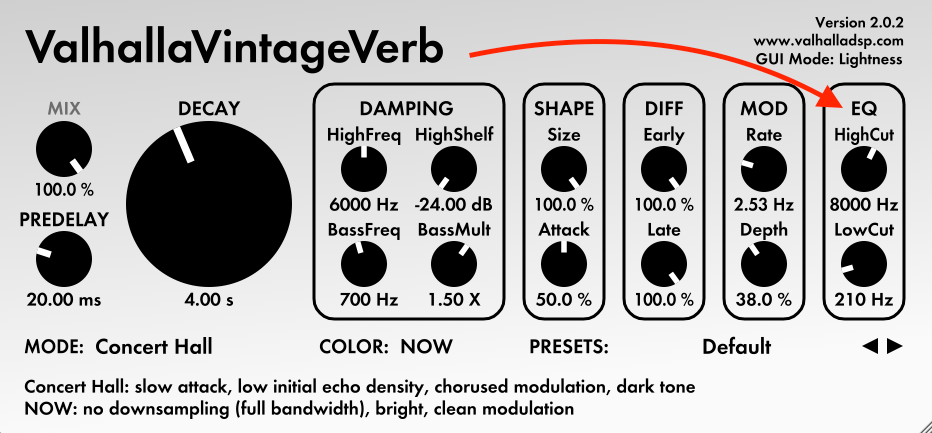
Make sure to take advantage of built in EQ's on your reverb plugins! Eliminate any unnecessary low end to clean up the reverb itself (we don’t typically want or need any sub frequencies bouncing around and reverberating in your mix, this would take up a lot of headroom!). You can also shave off some high end to push the reverb further back in the mix. This helps if your reverb is too bright and getting in the way of your main sounds.
Hope you found this post helpful! Happy holidays!


Comments